Christmas Cookies

Christmas Cookies

Servings: 16Cook time: 11 minCalories (per serving): 346 kcal

Ingredients

  • 500 g 00 flour for pastries (for shortcrust pastry)
  • 200 g cold butter (for shortcrust pastry)
  • 150 g powdered sugar (for shortcrust pastry)
  • 1 large whole egg at room temperature (for shortcrust pastry)
  • vanilla or lemon zest to taste (for shortcrust pastry)
  • 90 g pasteurized egg whites (about 3 eggs) (for royal icing)
  • 445 g powdered sugar (for royal icing)
  • gel or powdered food coloring (for royal icing)

Directions

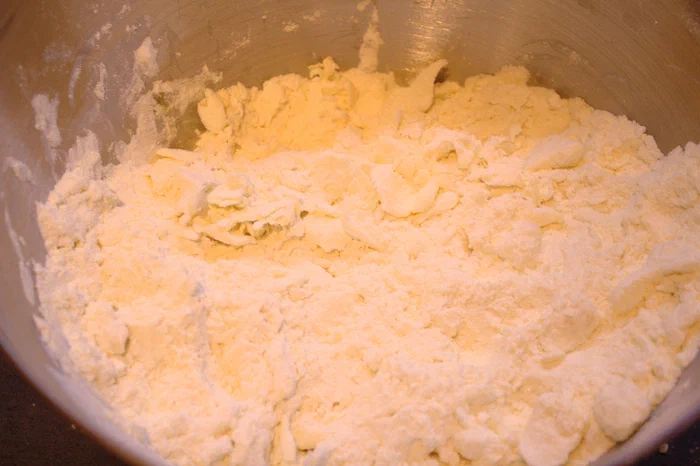
  1. For the shortcrust pastry: place all the ingredients on a pastry board or in a bowl and knead them quickly. It’s important to knead quickly and only a little: the more you work the dough, the more air is incorporated, which can cause bubbles to form during baking.

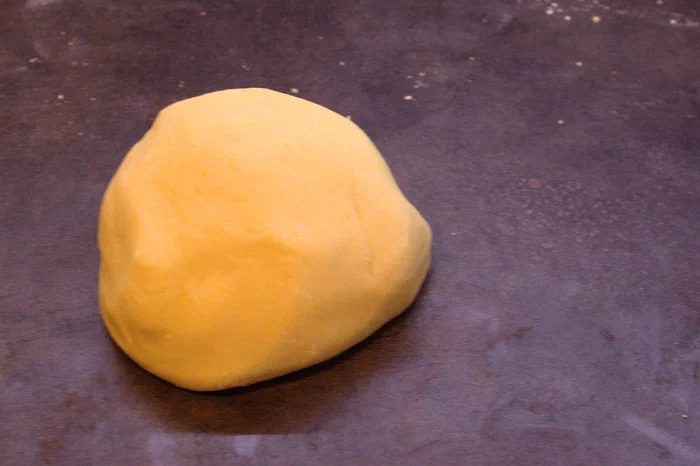
  2. Once you have formed a ball, wrap it in plastic wrap and let it rest in the refrigerator for about an hour.

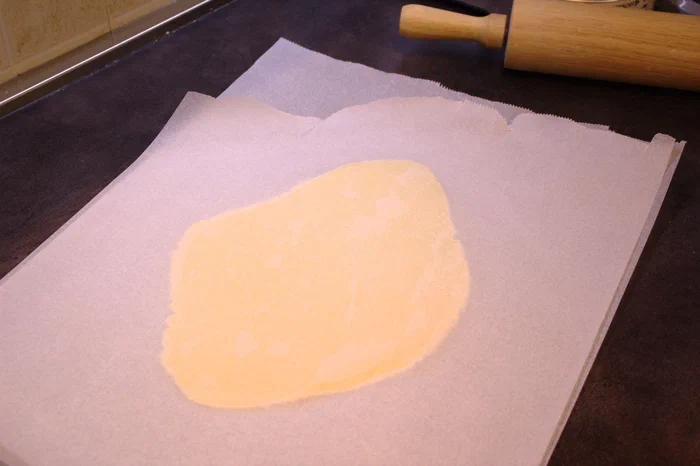
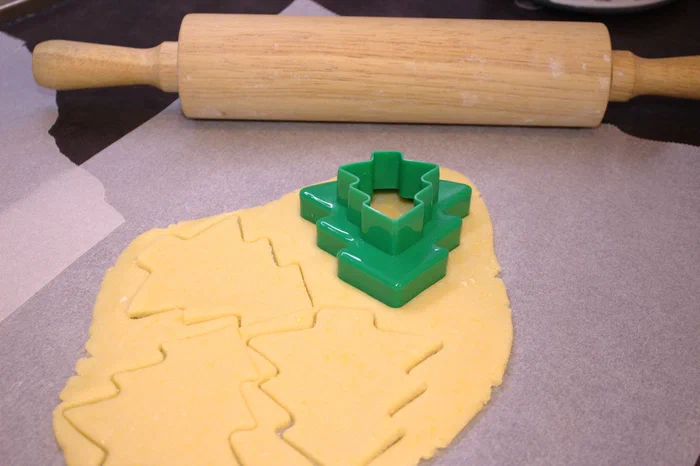
  3. Prepare two sheets of parchment paper, roll out the dough thinly (2 mm), and cut out the cookies.

  4. Bake in a conventional oven at 180°C for 10–12 minutes.

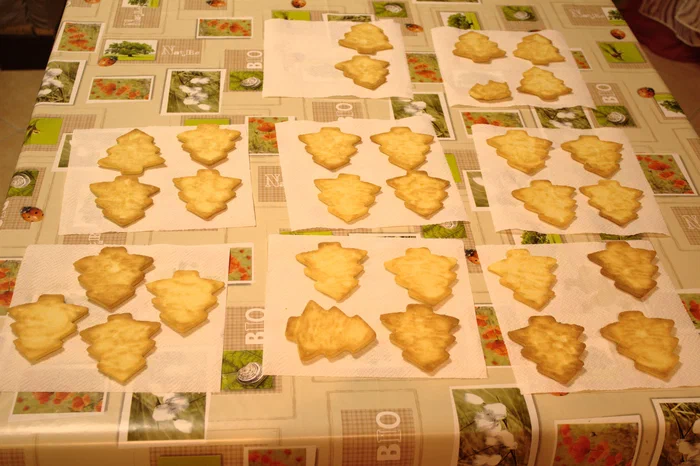
  5. Let the cookies rest for a few hours on paper towels, with the side to be decorated facing down.

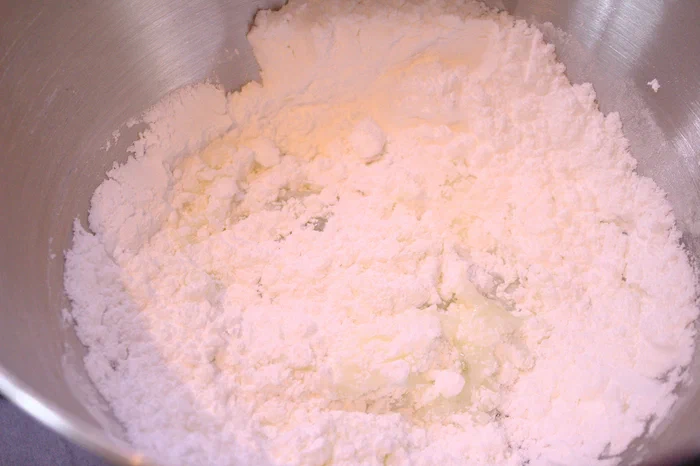
  6. For the royal icing: Beat the egg whites and powdered sugar in a stand mixer fitted with a K-beater on low speed for 12–13 minutes.

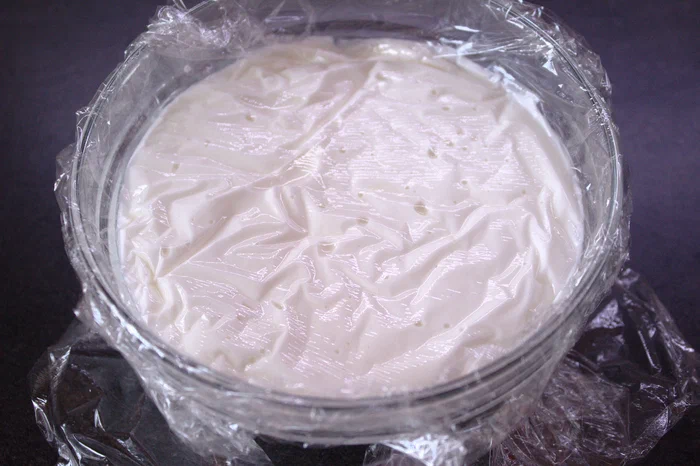
  7. To check if it’s ready, insert a spatula: when you pull it out, the tip of the icing should bend. To store the icing, simply cover it with plastic wrap and place it in the fridge.

  8. Add a few drops of water to soften the icing until a drop dropped from a teaspoon blends back into the mixture evenly within a few seconds.

  9. Divide the icing into several containers and add the food coloring a little at a time until the desired color is achieved.

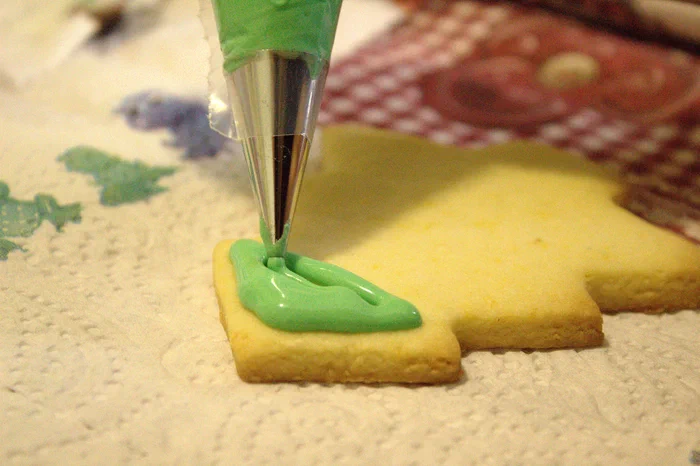
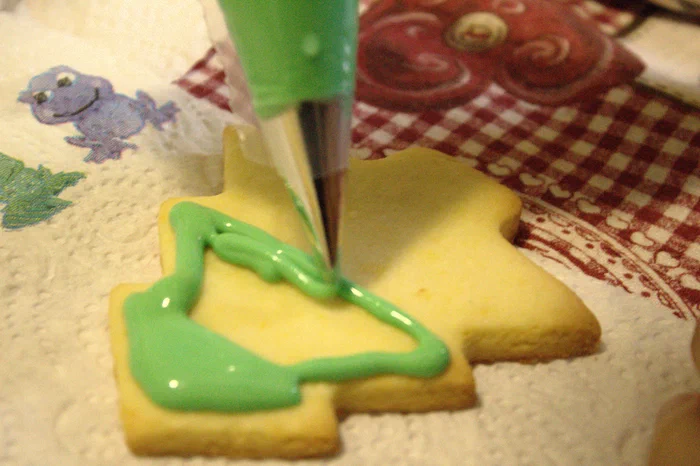
  10. Fill the pastry bags with the icing and begin decorating the cookie, starting at the tip of the little tree and tracing the outline of the first small triangle.

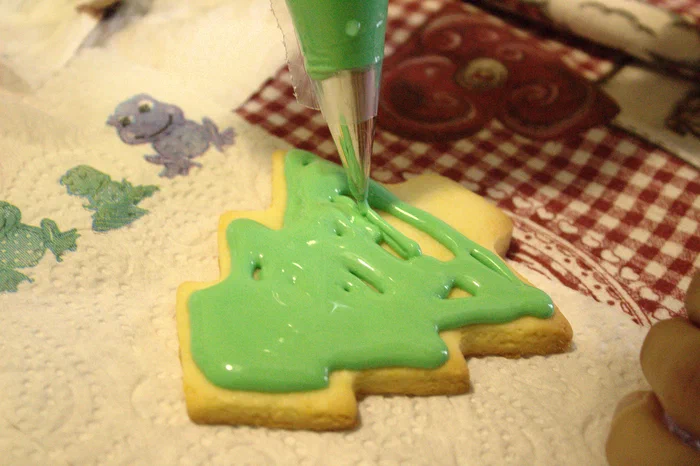
  11. Continue filling that triangle and move on to the next piece.

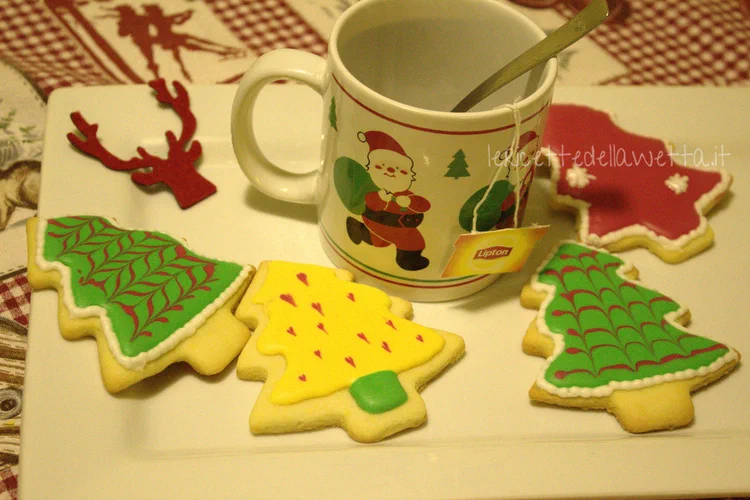
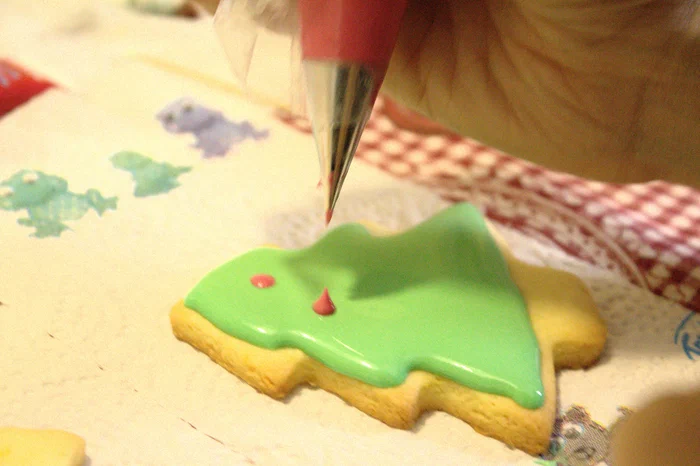
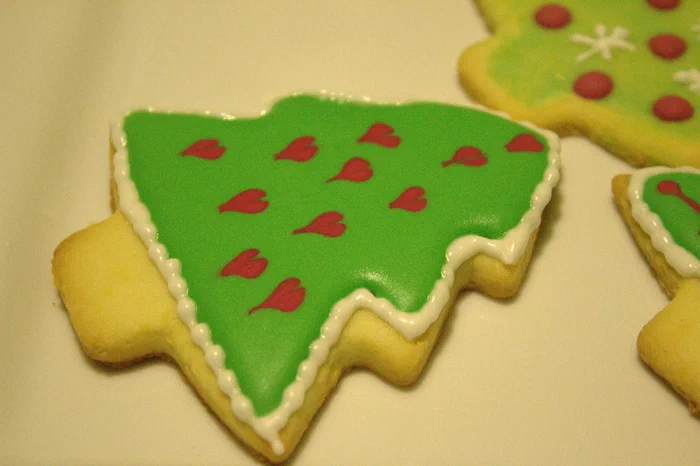
  12. Once the base is finished, you can proceed with various techniques. I took some red royal icing of the same consistency and piped small dots onto the green icing: since the green icing is still fresh, the dots are absorbed, and the surface of the cookie remains smooth. To turn the dots into little hearts, simply cut each dot in half vertically with a toothpick.

  13. Let the cookie dry for several hours—preferably overnight—or for 3 hours in a dehydrator.

  14. Once the cookie is dry, decorate the edges with the firmer icing.

  15. Once the base has dried, the firmer white icing can also be used to decorate the top of the cookie. You can create any shapes you like, starting with simple snowflakes.

Christmas is just around the corner, and it wouldn’t be Christmas without some beautiful shortbread cookies decorated with royal icing :)

The shortcrust pastry for these cookies is different from the one I shared with you previously (shortbread cookies); in fact, in this case
Christmas Cookies

Christmas Cookies

We don’t want the cookie to be crumbly, otherwise it would break while we’re decorating it :)

It’s also important to point out a few things: the dough is made with powdered sugar to make the cookie’s surface smoother. Also, butter is the enemy of icing, so let the cookies rest for a few hours (I leave them overnight) with the surface facing down on a paper towel so that all the excess butter is absorbed by the paper towel.

I chose Christmas trees that are simple and fun to decorate, but you can choose any shape you like.

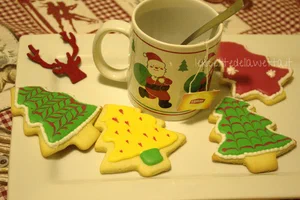
Here are some examples of Christmas decorations that are very easy to make.

biscotti di Natale