Halloween is coming—let’s not be caught off guard! Here are some terrifying Halloween cupcakes to celebrate this spooky holiday with the little ones!
Halloween Cupcakes
Ingredients
- 180 g flour (for chocolate cupcakes)
- 180 g butter at room temperature (for chocolate cupcakes)
- 190 g sugar (for chocolate cupcakes)
- 50 g unsweetened cocoa powder (for chocolate cupcakes)
- 3 eggs (for chocolate cupcakes)
- 100 ml milk (for chocolate cupcakes)
- 2 teaspoons baking powder (for chocolate cupcakes)
- 150 g butter at room temperature (for the orange buttercream)
- 250 g powdered sugar (for the orange buttercream)
- 2 tablespoons milk (for the orange buttercream)
- orange food coloring (or red and yellow food coloring) (for the orange buttercream)
- dark chocolate (for decoration)
- 5 or 6 wafers (for decoration)
Directions
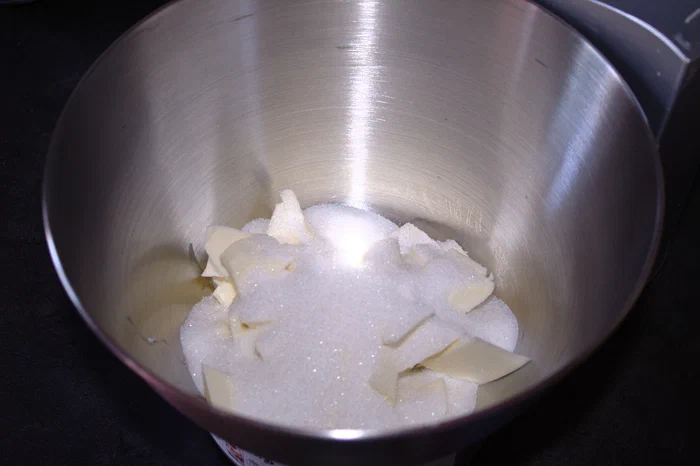
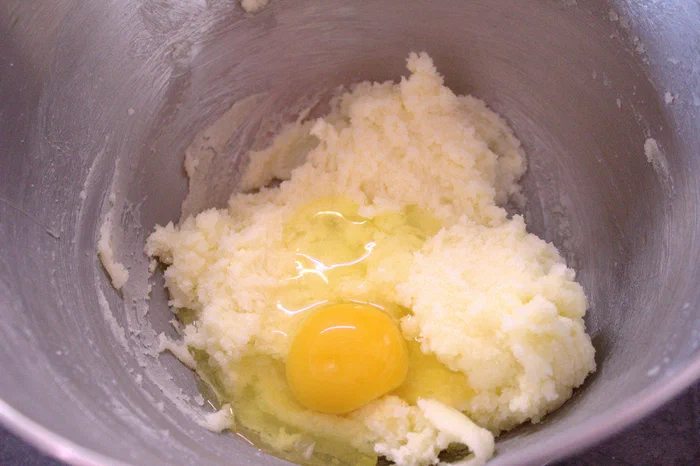
In a stand mixer, cream the butter and sugar until smooth. Then add the eggs one at a time, continuing to mix.
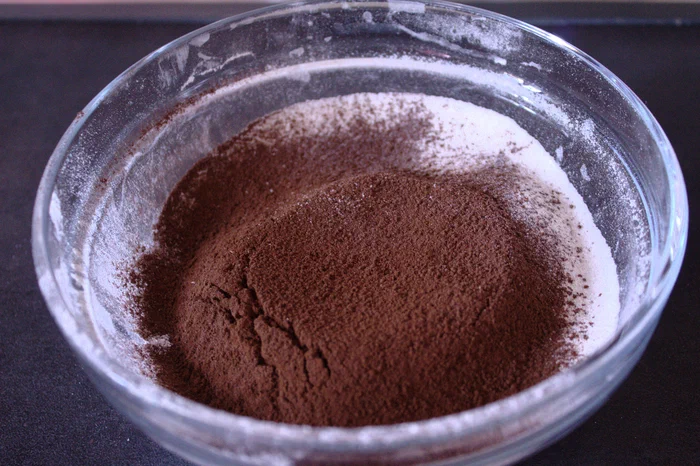
In a bowl, sift the flour, cocoa, and baking powder.
Add half of the flour mixture to the butter, sugar, and egg mixture.
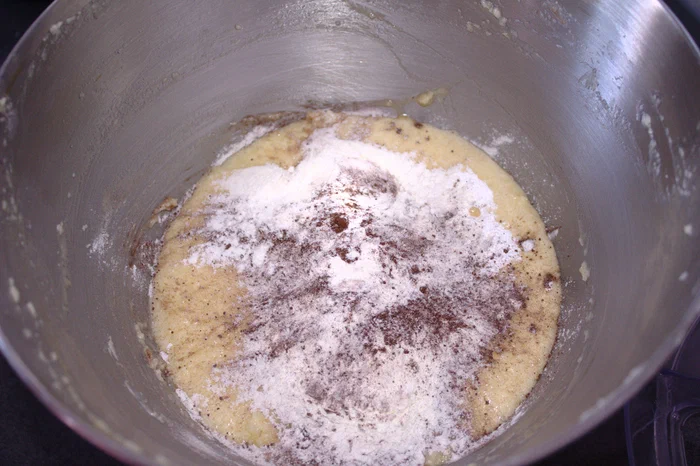
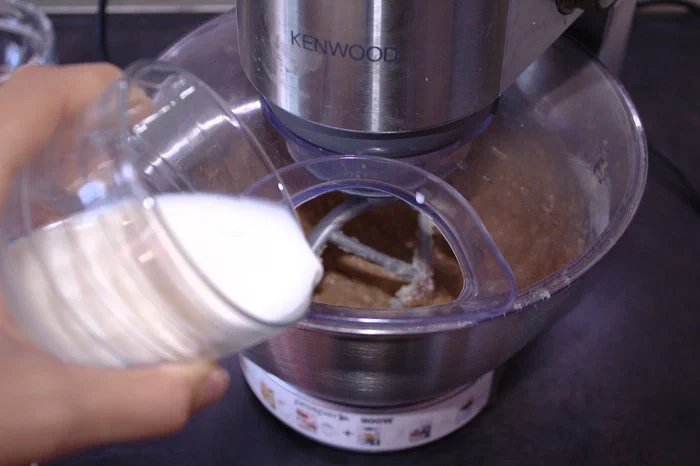
Add the milk and then the remaining half of the flour, and mix for 2 or 3 minutes to combine all the ingredients.
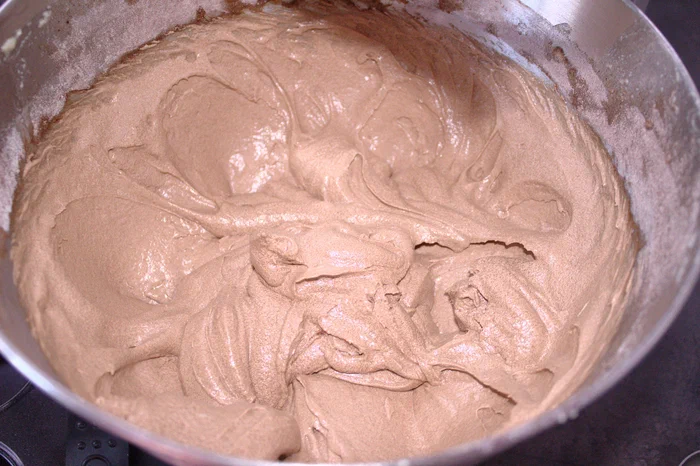
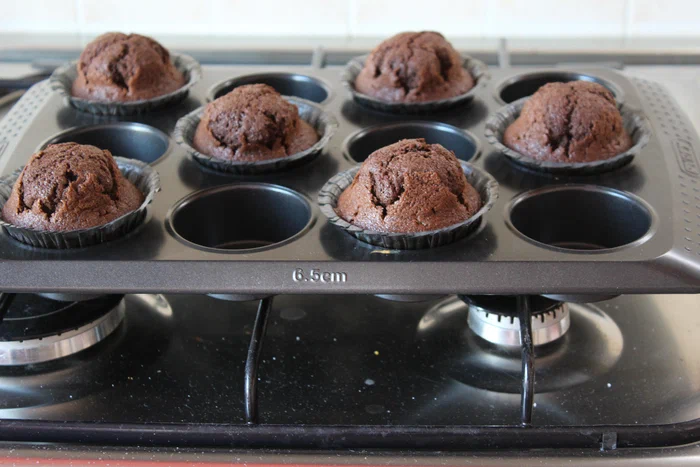
Place the cupcake liners in a cupcake pan and fill them 3/4 full with batter. Bake at 180° C for 17–20 minutes. Always do the toothpick test before removing them from the oven.
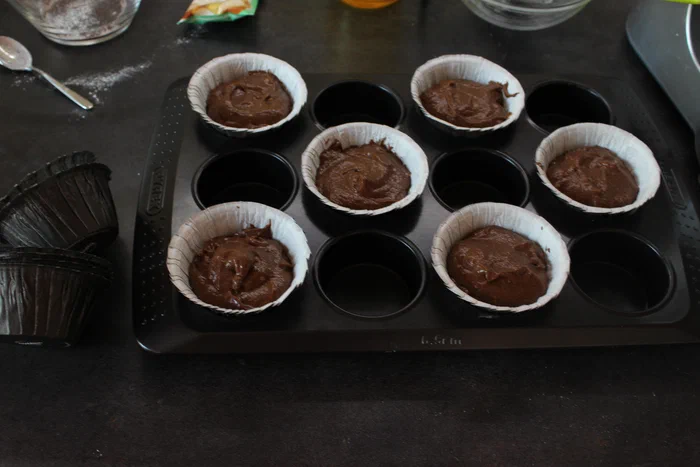
I used black and orange paper cups specifically to set a Halloween mood. Once baked, let them cool completely.
Let’s move on to making the BUTTER CREAM.
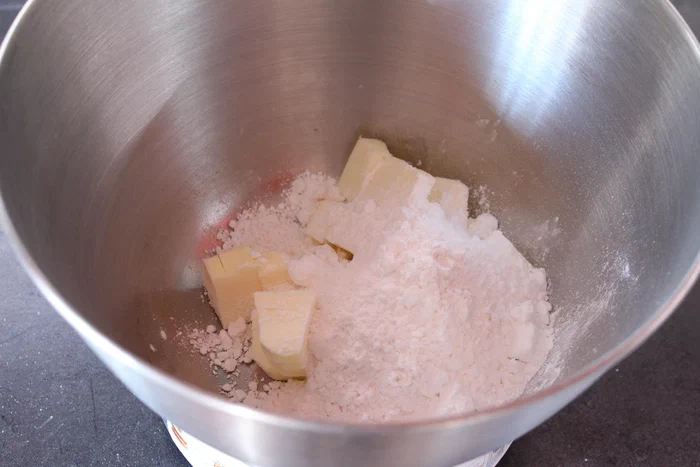
In a bowl, combine the butter and sifted powdered sugar, mixing until a creamy consistency forms.
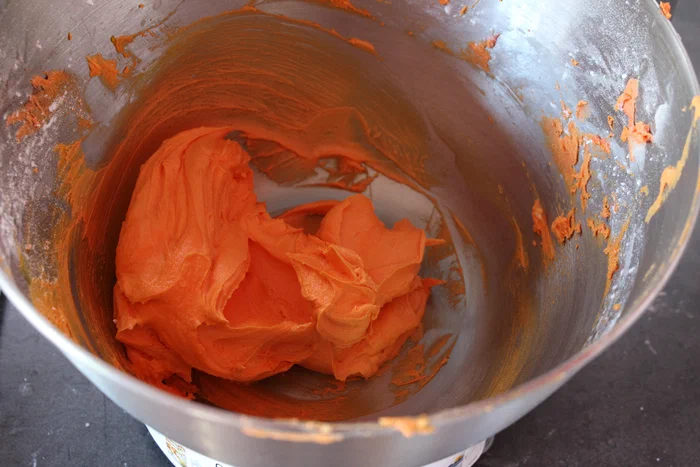
Then add 2 tablespoons of milk and a few drops of orange food coloring (or yellow and red) until you achieve the desired color intensity. Keep in mind that it’s never a good idea to overdo it with food coloring, so it’s always best to add it drop by drop.
For the garnish, I wanted to suggest some alternatives.
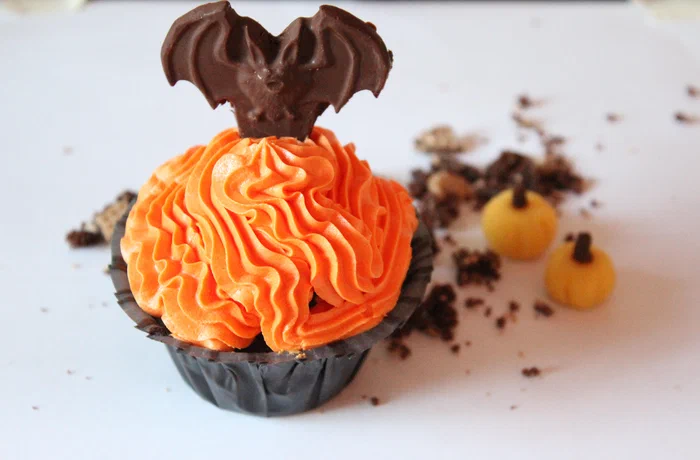
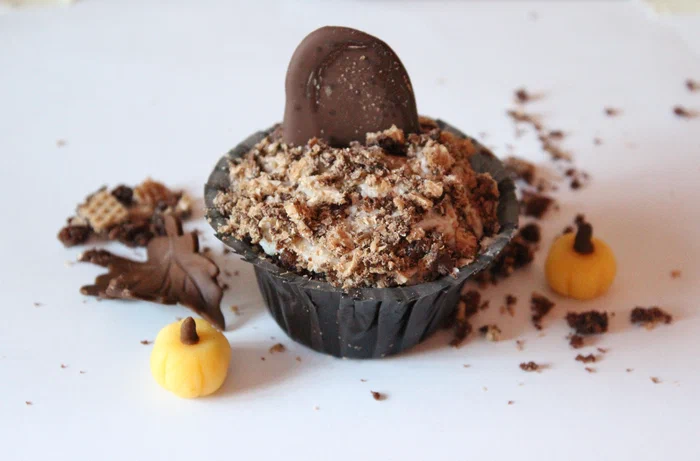
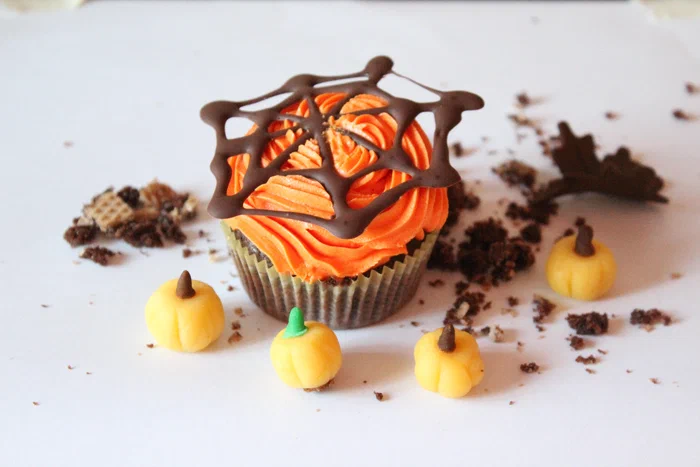
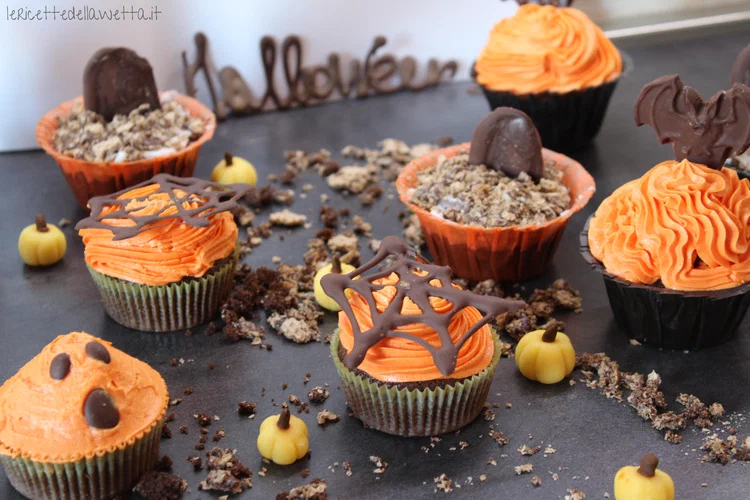
I melted some dark chocolate in a double boiler and put it in a pastry bag so I could draw little gravestones and spiderwebs on a piece of parchment paper and pour it into a bat-shaped mold.
If you don’t have a cookie cutter, you can draw the bats with a pencil on the back of the parchment paper and trace the design with the chocolate in the pastry bag.
Let the chocolate decorations cool, then assemble our Halloween cupcakes.
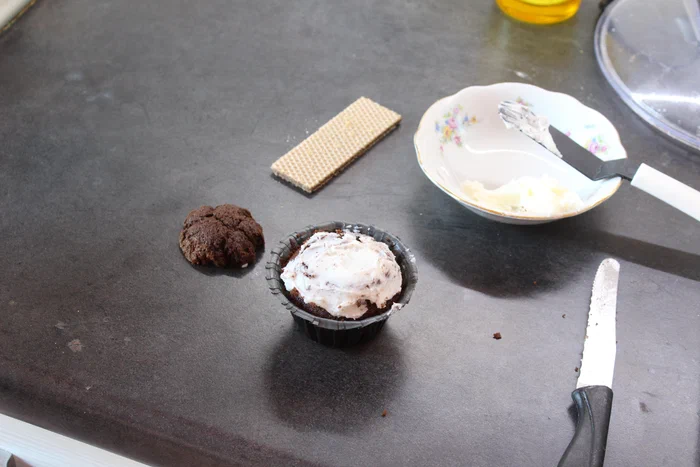
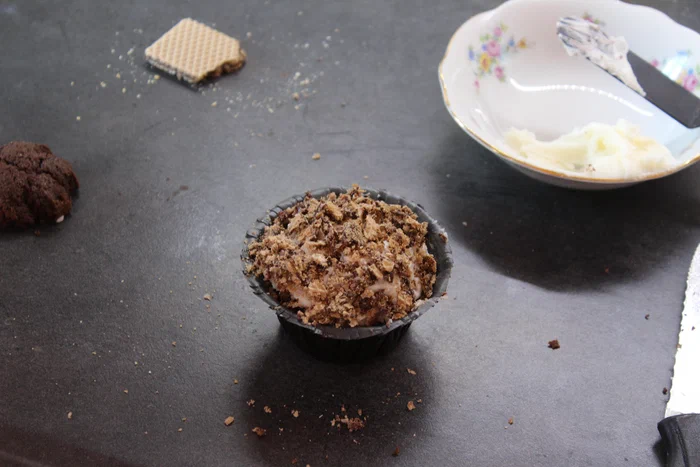
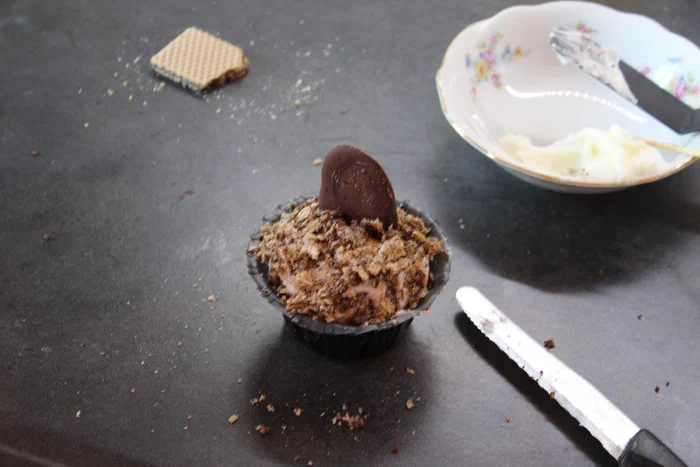
Cut off the tops of a few cupcakes, spread buttercream over the surface, and crumble a wafer onto the buttercream to simulate the sandy, uneven ground of a cemetery. Place a chocolate tombstone—which we prepared earlier—at the bottom of each cupcake.
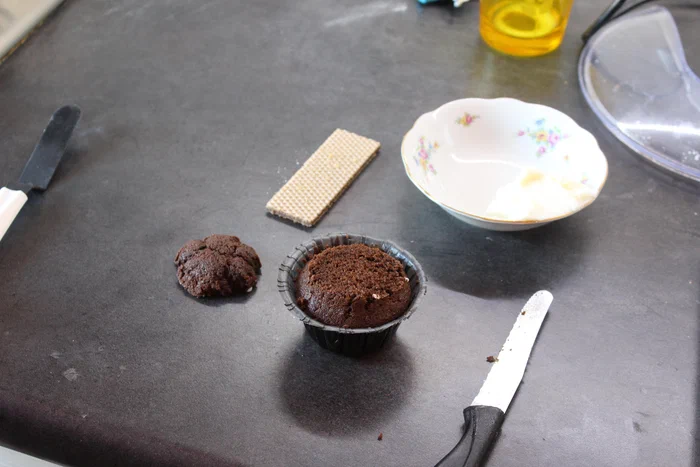
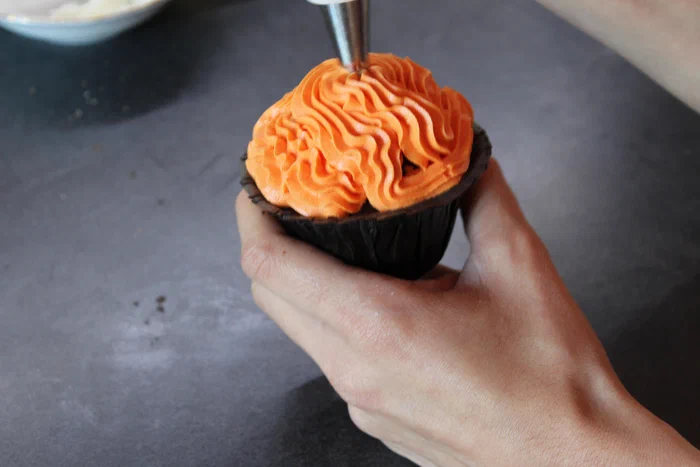
For the other cupcakes, put the buttercream in a pastry bag and pipe it onto the top of each cupcake. I wanted to make cupcakes that were a little taller than usual, more like muffins in shape, to avoid having to use too much buttercream. Then place the chocolate bat or spiderweb on top.
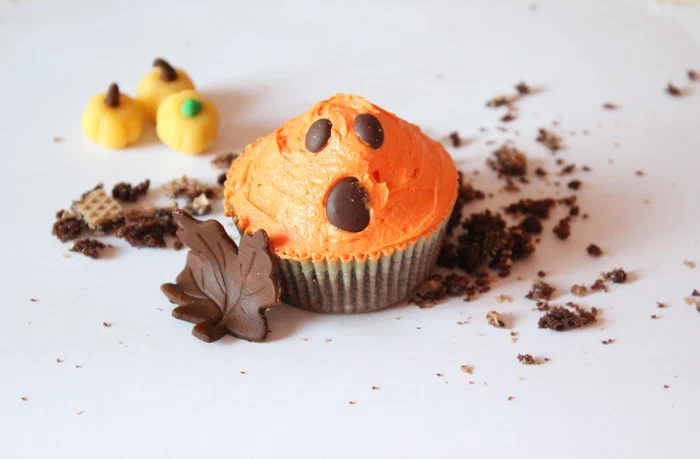
The little ghost was created by spreading the buttercream with a spatula or a smooth knife and piping two small chocolate circles for the eyes and an oval for the mouth—all using a pastry bag. For the eyes, you can also use two chocolate chips.
And here are the four types of cupcakes I made: